Scanning Clean, Searchable PDFs
By Gary Coyne
When one converts a sheet of paper to an electronic document, all too often they are simply scanned at the "whatever" setting and saved as a JPEG. This is not surprising because JPEG is a format that most people have heard of so it's a "safe" format to select. Some scanners have an option to save as a PDF and that is preferable to a JPEG, but there are two areas this leaves off: a clean scan and a searchable PDF.
First off, let me explain what I mean by a clean scan: our eyes are very forgiving. We look at a newspaper and see black text on paper and we pretty much ignore that the paper is non-white. The scanner doesn't know the paper is supposed to be white so it records it for what it is: not white. Since newspaper are a worse-case scenario, I will discus and demonstrate with newspaper but just be aware that all scans will display paper as being off-white unless you do something to make the paper white.
Let me start with the dynamics of a clean scan and how to create a clean scan.
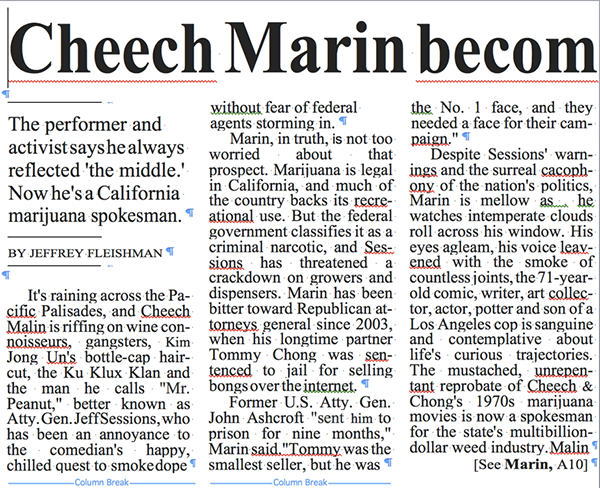
The problems with newspapers start with the fact that the paper is not white and the thinness of the paper causes the text and anything else on the back side to show up through the page. Thus, if you just run the scanner on a section of newspaper you'd get something like this:
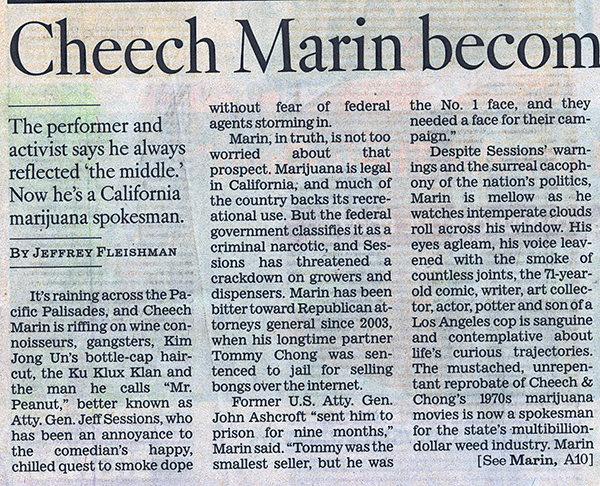
One of the problems here is that there are some color images on the back side of this page and trying to deal with all of the colors is a waste of time. So, the first thing you can do here is to change your settings from Color scan to Black & White scan and that will give you this:

While it's still bad shading, at least it's consistent-bad shading.
At this point there are two options for the person doing the scanning:
- You can pre-clean the text prior to the final scan of the page.
- You can simply go with the gray background as above and get rid of that in a step further down in this article
Needless to say, both of these have advantages and disadvantages but let's start with pre-cleaning the scan.
Any time you are scanning, you need to first do a Prescan. This is done to verify that what you want to scan is on the scanning table and also allows you to crop the scan. This is also where you can make decisions on color or gray-scale scanning, resolution, final output size, create a name, where you are saving the image, etc. As a rule, I never save a scan as a JPEG, rather I always save it as a TIF image (for reasons that are beyond the focus of this blog). Yes, the TIF images will be large in storage size but do not worry, once you've converted them into PDFs (which will be considerably smaller), you can toss the TIF images you had just created.
To fix the whiteness of the paper, bring up your scanner software's histogram. Most scanning software of merit has histograms and most of the software that comes with your scanner will have histograms. However, if you tend to use the "Full Auto mode" that some scanning software have, select the Professional mode that should also be available.
[Important: Apple's Image Capture is absolutely dreadful for scanning and should be avoided at all cost. I do not know what's available as default on Windows machines but your first choice should be the software that came with your scanner. When first opened, it will probably come up with an Auto mode, do look for any options for Professional control.]
When you first bring up the Histogram, it will probably look something like this (the red rectangle is my crop line):
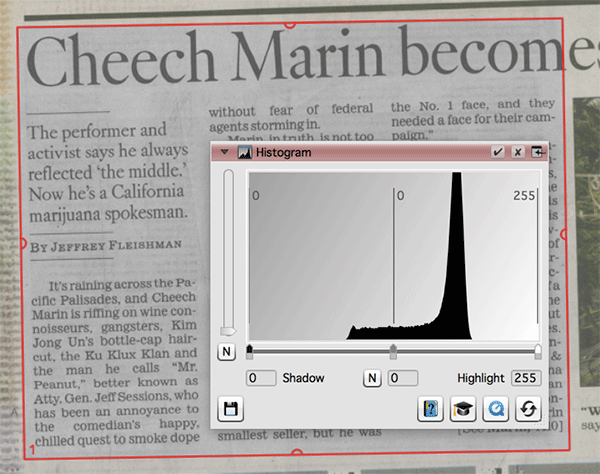
A histogram, if you are not familiar with them, is a bar graph of all 256 shades from black to white along the "X" (horizontal) axis where the far right is absolute white while the far left side is absolute black. The "Y" (vertical) axis is the count of pixels that have that specific shade of gray so that if any given shade has a whole bunch of pixels, it will be tall column, if fewer pixels are of any given shade, it will be shorter. In the case of this scan, we can see that there's a lot of light-medium gray pixels through to some medium dark pixels and no white or light gray and no black or dark gray pixels.
What we can do is to tell the scanner that light gray pixels should be considered white and that the medium dark pixels should be considered black. To to this you mouse-down and slide the little arrows on the bottom of the histogram until we see what we want as shown below:
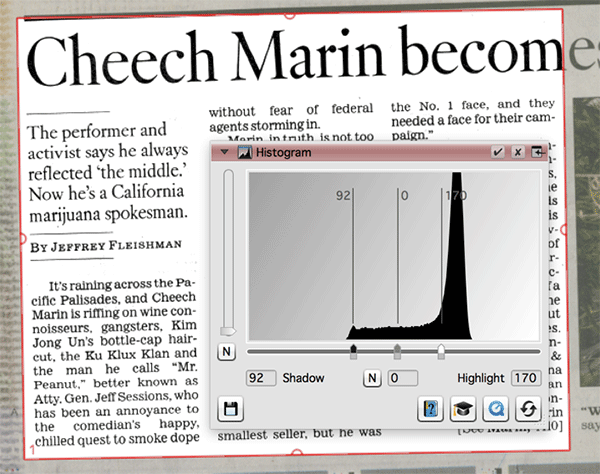
If you look at the image above you can see that most of the light gray pixels were too dark for what I wanted, I wanted the pixels that made the page look white. The trick is to maintain the text remains black. Keep in mind this in entirely subjective. What you do not want to do is to make the gray so white as to cause the text to start losing its shape as shown below on the right side.
The good news is that if you are scanning a number of pages, the controls of the histogram are sticky. That means that once you set everything for the first page, all subsequent pages from the same souce should be good to go.
After setting the histogram, the final scan look pretty good as shown below:

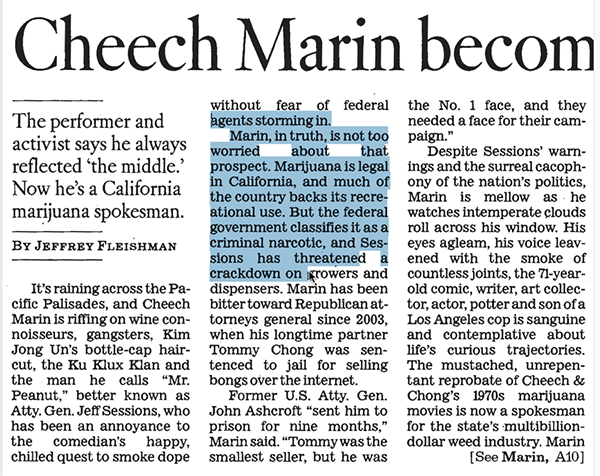
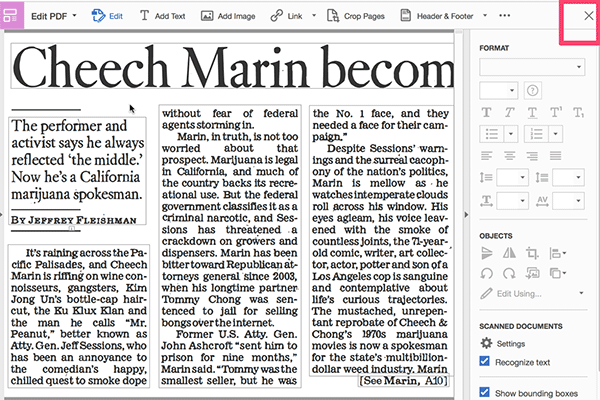
At this point you can either drag these TIFs into Acrobat icon or Open the TIF from the Acrobat's Open window. Acrobat will automatically convert these not only into PDFs but also "Searchable" PDFs. What that means is that Acrobat can "OCR" (Optical Character Recognition) all of the text and convert that into words so you can both search and copy and paste the text. Below is the TIF from above that has now been converted into a PDF and is also search-able You can see that it's search-able because I can select the text in the document.
Had I not done that cleaning, Acrobat could still do the conversion to PDF and making it search-able as shown below.

But is the text here any better or worse than the other? For those who do OCRing on a regular basis there are known issues that can come to bite you. For example if the letters "r" and "n" appear next to each other in a poor quality scan, they can be interpreted as an "m." One way to test this is to convert the PDF into a Word document and look for underlined text with red lines. The red lines indicate bad spelling that can either be
- A real word that Word doesn't know about (e.g., someone's surname)
- A word that was chopped in half (e.g., a hyphenated word, if Word didn't do the hyphenation so it doesn't know it's been hyphenated)
- A word that was originally misspelled in the document
- A word that was badly OCRd.
So, here's the cleaned text after converting into Word:
And here's the text that was not pre-cleaned and converted into Word:
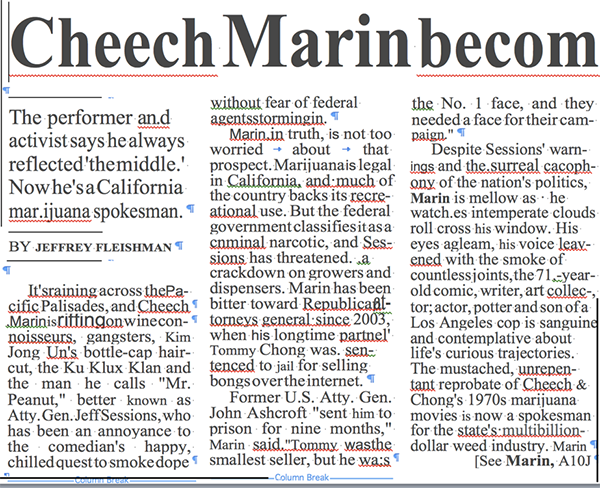
As you can see, there are a significantly greater amount of errors with the text that was not pre-cleaned in the scanner prior to converting to text via OCR. But admittedly, a lot of people do not want to bother pre-cleaning a document, they don't think about it or are unaware that it can be done.
Now, I should point out one important thing here is that what you see in this PDF is not necessarily what the OCR text thinks it is. So for example, while in the PDF you may clearly see "It's raining.." as the first words in the story, the not pre-cleaned text is "It'sraining..." So if you copy and paste this, you may not get exactly what you are expecting.
But I continue...
However, there is ONE MORE way to clean a scan and make it into a nice looking PDF and that's to delete the background by editing out that background in Acrobat. OK, here's the deal: When text is OCRd in Acrobat, a new layer of text is created ON TOP of the original document. The original document is below and the text is removed from the original document, and any image remains in the lower layer. Any component of that PDF can be deleted at any time. Here's how:
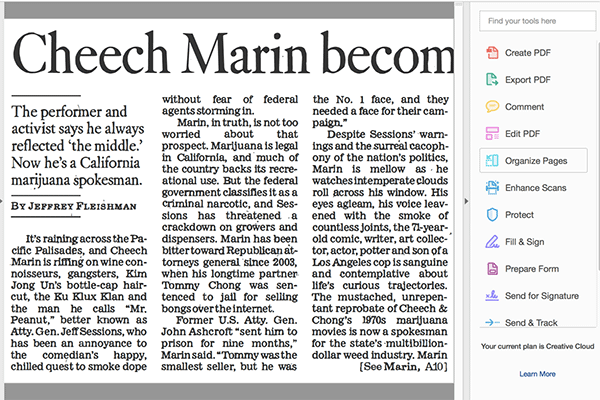
First open that original, non pre-cleaned scan in Acrobat, but this time after opening the document, click on "Edit PDF" in the Tools in the Right Hand Panel. If you do not see "Edit PDF..." in the Right Hand Panel, open Tools and click on the drop down below "Edit PDF" to add it to the Shortcuts on the Right Hand Panel. "Edit PDF" is such a valuable tool that if you do not already have it there, it should be for easy and quick access in the future.
After adding it to the Right Hand Panel, the tool will default-land on the bottom. If you want to rearrange this you can move it to a higher location by simply dragging it to the location of your choice.

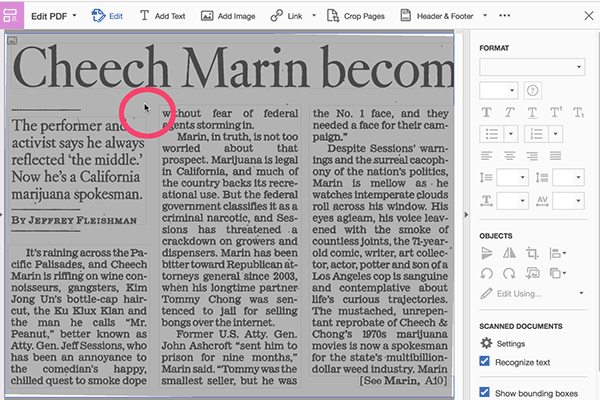
Now that you have easy access to Edit PDF..., click on it with your original scan. When you do so you will see Acrobat doing a variety of processing on the image.
You will now see thin rectangle lines around all of the text. The text is now completely editable and if there were any words that the original article had misspelled, you can fix then. But the important thing here is that you can now click on the background and delete the background. As shown below: just click your cursor where there's no text:
Now tap the Delete key and all the gray is gone. Then tap the Close Tool by clicking on the "X" in the upper right corner to get out of Edit mode:
and you will see a very clean document as shown below:
Keep in mind that the quality of this OCR is just as bad as it was before, the page just looks better. However, the actual quality of any scan will vary considerably all over the place so do not dismiss this approach out of hand. In addition, the value of an excellent OCR has more to do with the need for quality search-ability. The scan itself will be clean and easy to read and often, that's typically the most critical issue.
One other issue is: what do you do if the background contains important images. As stated earlier, the background contains the background content: both poor scanning debris AND any images that the document may have. The text, after OCRing, resides on a layer above the background. But if you rely upon deleting the back areas of a scan, watch out if there are images on the page.
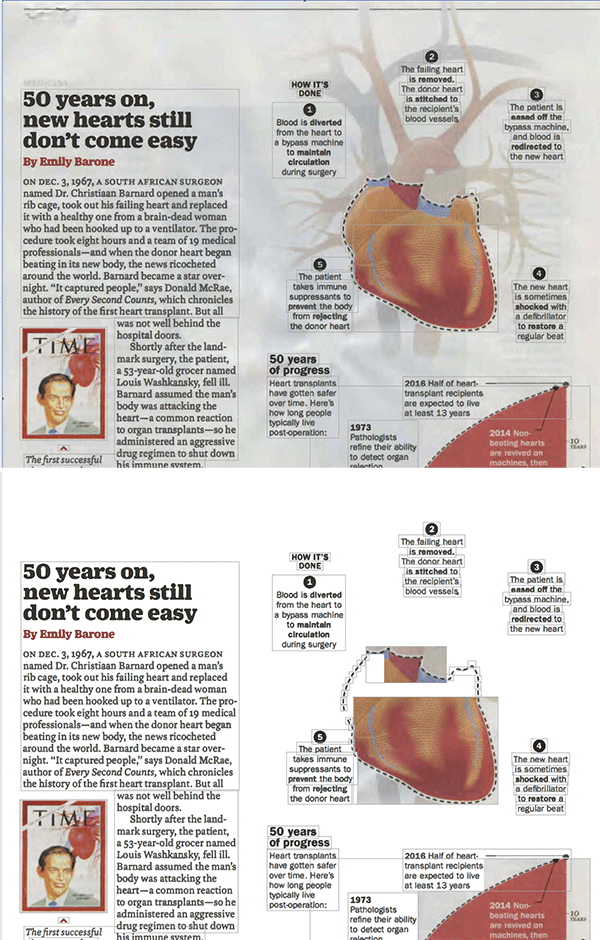
Finally, here is the page above but as a pre-cleaned color image scan that has both the images on the page as well as the text.
Scanning a page with the intent of creating a PDF and/or to access the text of that page, one has make choices based on many factors: how clean the original page is, how thin the paper is, how much time do you want to take with the scan, is the quality of the OCR critical, and all of the other issues touched upon in this article. There is software out that that can do an amazing amount in "Auto" mode and I do not think you should avoid those when available. However, if the specific document you have does not provide an acceptable result, this article should provide the information for you to know what went wrong and why, and more importantly, how to get the best possible document to keep for yourself or to send to someone else.